> For the complete documentation index, see [llms.txt](https://helpcenter.xopero.com/xopero-one-en/llms.txt). Markdown versions of documentation pages are available by appending `.md` to page URLs; this page is available as [Markdown](https://helpcenter.xopero.com/xopero-one-en/storage/local-storage/adding-new-storage/local-directory.md).
# Local directory
{% stepper %}
{% step %}
Login to your **Xopero ONE Management Service** (**XMS**) admin panel, open the **Storages** tab and click the **(+) Add storage** button.
{% endstep %}
{% step %}
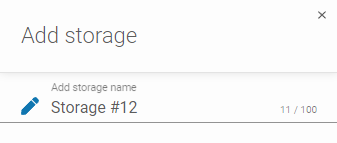
In **Add storage** form, define the storage name.
{% endstep %}
{% step %}
If needed, add an optional description.
{% endstep %}
{% step %}
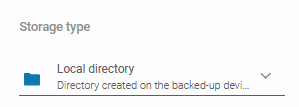
Expand the **Storage type** list and select **Local directory**.
{% endstep %}
{% step %}
Set up the path to the local directory where your data should be backed up.
{% hint style="warning" %}
The directory will be created on the computer on which the **Xopero ONE** agent is installed and working, and backup will be stored locally on that computer.
{% endhint %}
{% hint style="info" %}
Selecting 5 endpoints in your backup plan will create storage on each. **Xopero ONE** will establish local directories on all endpoints and back up the data.
{% endhint %}
{% endstep %}
{% step %}
To finish the storage configuration, click **Save**.
{% endstep %}
{% endstepper %}
.png)
.png)