
In this article, you will learn how to manage remote updates of your backup agents.
Automatic updates are not supported on Windows Server versions 2008 R2, 2012, and 2012 R2.
The minimum required version is 1.9.5 for both the Management Service and backup agent. Supported platforms include:
Windows (x64/x86)
Linux (systemd required)
Hyper-V
Open XMS and select ⚙️ Settings > Update agents from the bottom of the left-hand menu.
Start remote updates by choosing the devices and clicking the Update button.
Alongside backup and restore operations, remote updates appear as a separate task category in the Tasks tab.
You can monitor these tasks in real-time under Current tasks or review them later in historical records. This section shows detailed status information for all remote update operations.


Learn how to update Xopero ONE agents on Windows Servers and workstations.
Log into Xopero ONE Management Service using a web browser to download the installer with the newest agent version. Then, go to the Devices tab and click the Add device button.
Next, select the appropriate environment (Windows Client or Windows Server, according to your needs) and installer type from the drop-down menu (i.e., default installer, WS 2012, etc.).
After selecting the version, the download will start automatically. You will also be redirected to the Installation view, which provides short step-by-step instructions for installing the software.
Run the downloaded file, select the setup language and click Next to begin the installation.
Read and accept the End-User License Agreement, then proceed to the next step.
Choose the folder where Xopero ONE agent will be installed.
In the Address field, enter the Management Service address, including both the protocol and the port.
Click Install to begin the installation.
Choose whether to restart the application automatically after setup (recommended) or to reboot your computer later.
After the installation wizard completes the process, click Finish.
Activate your device via Xopero ONE Management Service.
Your agent should now be updated and ready to work with.


This article explains how to update Xopero ONE agents on Linux and macOS.
Log into Xopero ONE Management Service using a web browser to download the installer with the newest agent version. Then, go to the Devices tab and click the Add device button.
Select Linux from the list of available environments.
After selecting the version, the download will start automatically. You will also be redirected to the Installation view, which provides short step-by-step instructions for installing the software.
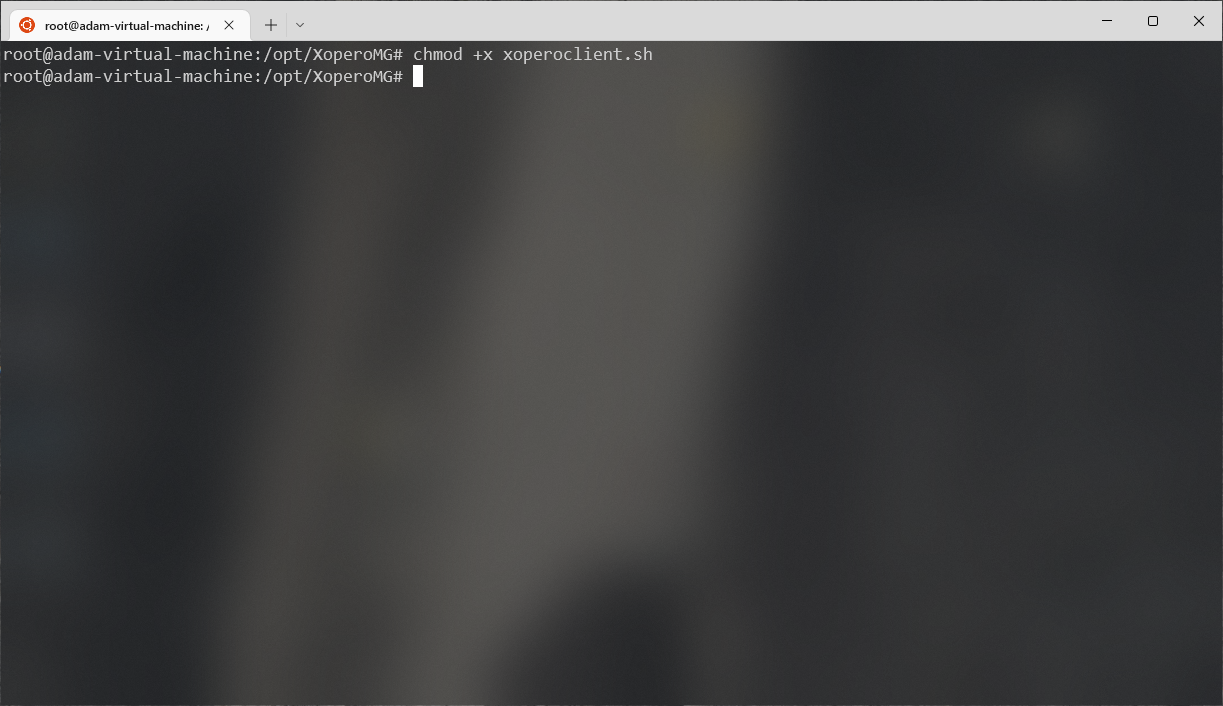
If the installer file is already downloaded, grant execute permission to the file’s owner or group. To do this, use the chmod command:
Run the script using one of the following commands:
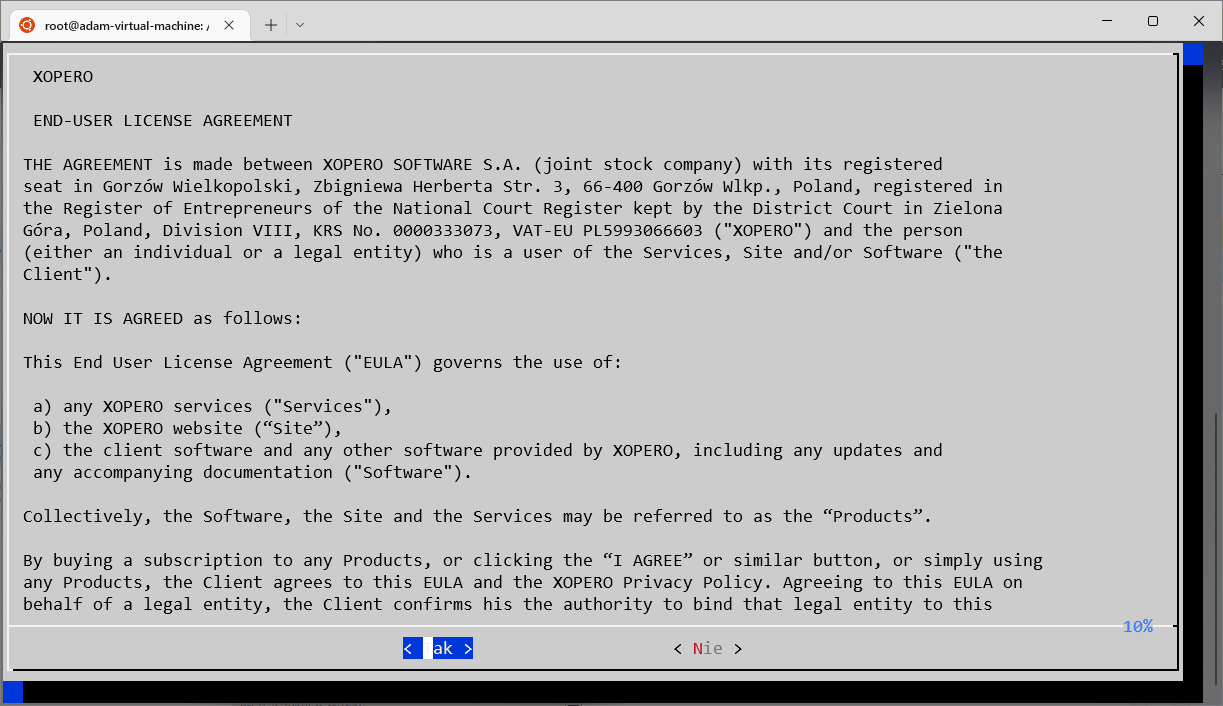
The installer will display the End-User License Agreement, which must be accepted to continue.
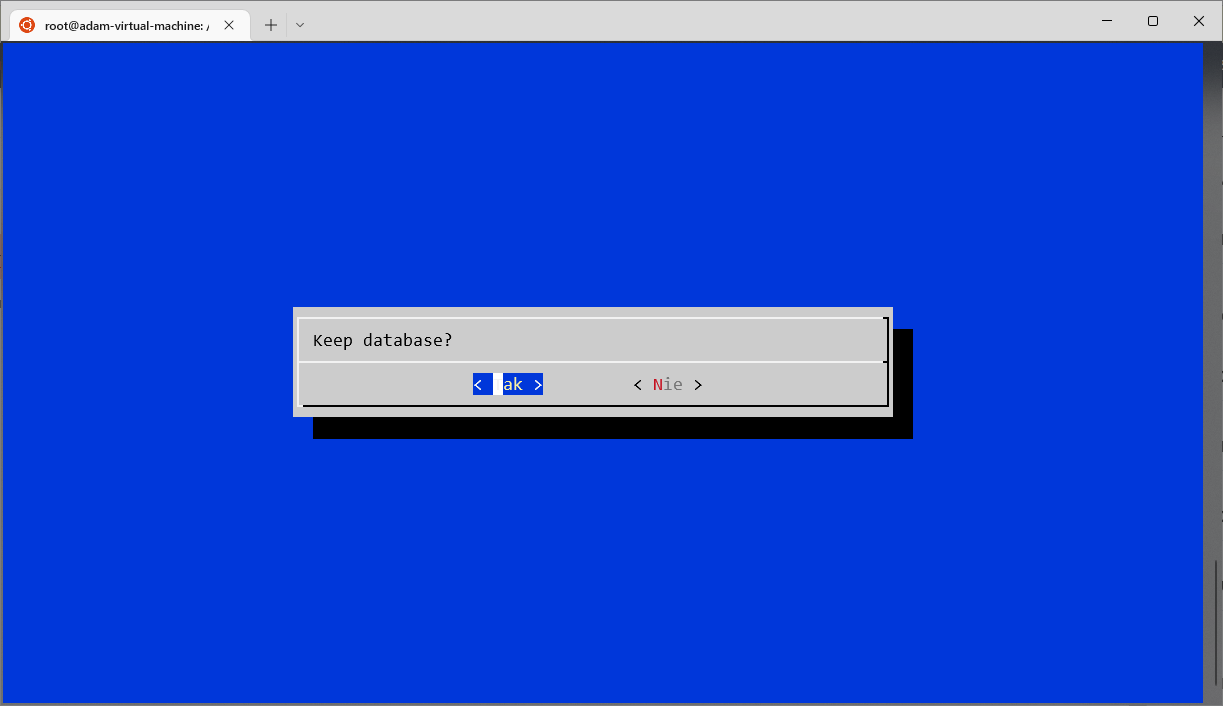
Confirm keeping the existing database.
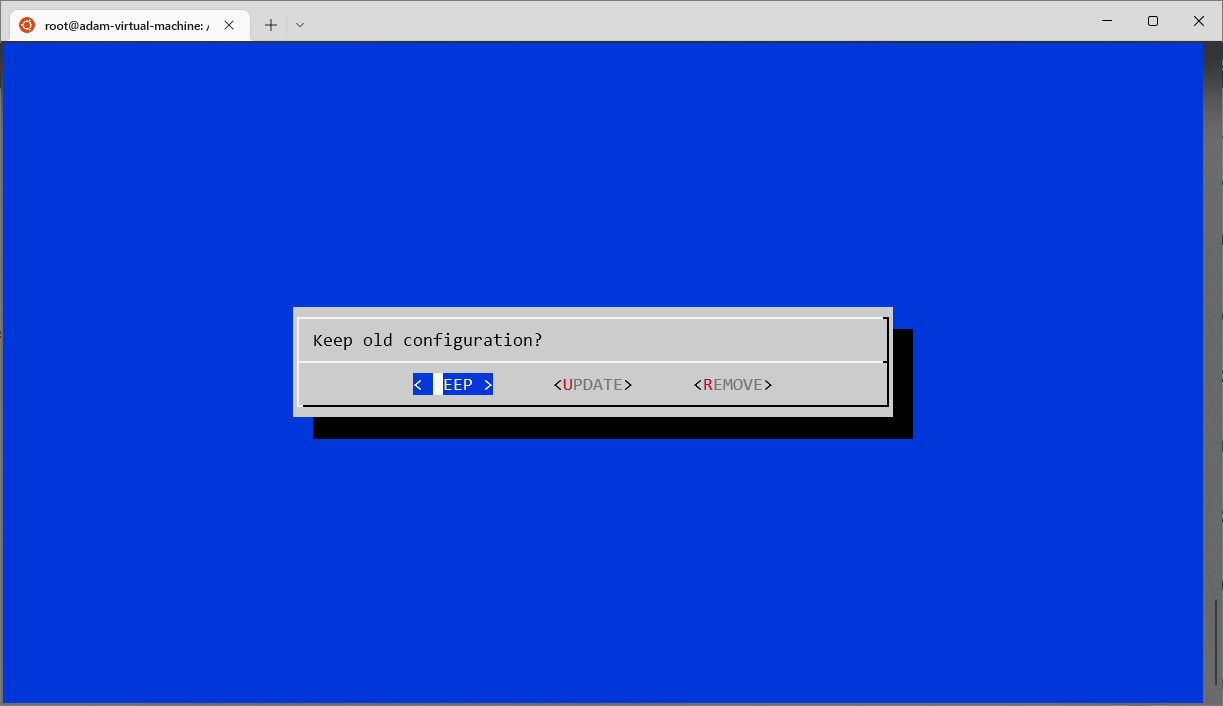
Confirm keeping the old configuration.
The Xopero ONE agent for Linux is now successfully updated.
Log into Xopero ONE Management Service using a web browser to download the installer with the newest agent version. Then, go to the Devices tab and click the Add device button.
Select macOS from the list of available environments.
Run the downloaded installer.
Click the Continue button in the Introduction section.
Click the Continue button in the Read Me section.
Read the End-User License Agreement and click the Continue.
Click the Agree button to accept the End-User License Agreement.
Change the installation location if needed, or click the Install button to proceed with the default location.
During the update process, the installer will prompt you for the IP address of your Management Service (refer to step 3 in section above). Define it in this step.
Confirm the configuration by clicking the OK button.
Click Close to finish the installation. The Xopero ONE agent for macOS is now successfully updated.
chmod +x xoperoclient.sh./xoperoclient.shbash xoperoclient.shThe script must be run with administrative privileges, as it may require using the sudo command.


This article explains how to update Xopero ONE agents installed within Docker containers.
The only way to update an agent installed in a container is to remove the existing version and create a new one.
Download the new image and remove the old container with the agent using the following command:
docker pull xopero/xone-agent:latest
docker stop xone-agent && docker rm xone-agent
Create a new container with the Xopero ONE agent:
docker run -d \
  --name xone-agent \
  -e ManagementServiceUrl="<your_xopero_service_URL>" \
<your_xopero_service_URL> — Xopero ONE Management Service address with the port (i.e., 123.456.7.890:28555)
<device_name> — custom Docker container name
Once done, the Xopero agent should now be up to date.
First, open Container Station on your QNAP device.
Locate and select the container running the agent you want to update, then click the settings ⚙️ icon to open the container settings.
In the settings menu, select the Recreate option to proceed with the update. This action replaces the current container with a new one based on the latest image.
Log in to Xopero ONE Management Service.
Go to the Devices tab and find the Docker agent.
Click the device details ℹ️ button. Review the Docker agent plans and note them, as you will need to add them again. All plans can be viewed in the Backup plans section; expand the list by clicking Load more.
When using the :latest tag, the Container Manager monitors the image for updates. When a new version is detected, the Image tab will show the status Update available. Click the status to start the update process.
When activated, a system prompt will indicate that the services and container will be temporarily suspended during the update. Confirm by clicking the Update button.
Switch to Advanced mode (see illustration below). You will be prompted for the Docker Hub image address — enter the address shown below:
Make sure you select the option Try pulling the image from the registry before creating the container (this ensures that the latest version of the image is used) and click Next to continue.
You can now edit the container settings as you would when creating a new container. Adjust them if needed, then click Next again to move to the summary page.
Review the summary of the settings and changes. When everything looks correct, click Finish. Container Station will download the latest image and create a new container using the settings and data from the previous one. This updates the agent to the latest version while preserving all existing settings and data.
Remove the old Xopero ONE agent container — in Container Station, click the Remove icon in the Actions tab to delete the container.
Once the old container has been removed, install the Xopero ONE agent Docker image again. Then, add the agent to all the plans it was previously assigned to.
You will be prompted to confirm the update again by clicking the Update button.
The update progress will appear in the list of operations. Once the image is successfully downloaded, containers set to auto-start will restart automatically.
To verify the update, go to the Containers tab to check that the container is functioning correctly. Also, check if the system shows the latest version in Xopero ONE Management Service.
This method requires Container Station version 3.0 or later.
The only way to update an agent installed in a container is to remove the existing version and install a new one. Creating a new container requires reactivating the device, so you will need to reassign it to all backup plans.
If the Update available button does not appear even when the agent update is available for other devices, you may wait up to 12 hours before it becomes visible.
xopero/xone-agent:latest


