Learn the basics of account management in Xopero ONE.
Login to your XMS panel, go to the ⚙ Settings tab, then select Accounts.
Click the Add new button at the bottom of the section.
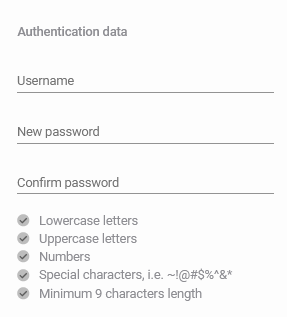
Enter username and password for your new account.
Next, set the default language for the new account, and assign its role and permissions.
Review your account configuration and click Save.
Login to your XMS panel, go to the ⚙ Settings tab, then select Accounts.
Choose an account you want to edit and click the edit button.
Login to your XMS panel, go to the ⚙ Settings tab, then select Accounts.
Choose an account you want to delete and click the recycle bin button.
In Edit admin account panel you can change your account password, default language, role, and permissions.
It is not possible to change the account username (email address).
Review your changes and click Save to finish editing the account.
The system will ask you to confirm the operation. If you are sure you want to remove the selected account, click the Remove button.
Your username must be an e-mail address.
You can use your GitHub, GitLab, Bitbucket, Google, or Microsoft Azure AD email address to log in to Xopero ONE via SSO— just make sure that the email address in Xopero ONE matches the one used in your service provider.
Remember that when setting up a password, you must meet the password criteria displayed in the form.
See all details about available roles and permissions in this article.