Azure storage configuration
This article explains how to configure a storage account and blob storage in Azure.
Creating a storage account
Xopero ONE supports only Block Blobs; the other two types—Page Blobs and Append Blobs—are not supported.
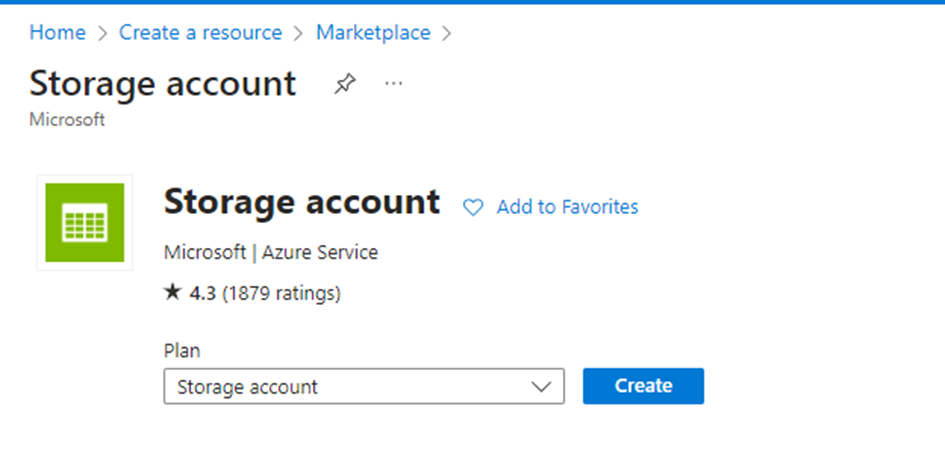
Navigate to the Create a resource section in the top-left corner of the Azure Portal.
In the search bar, type storage account and select Create from the results.
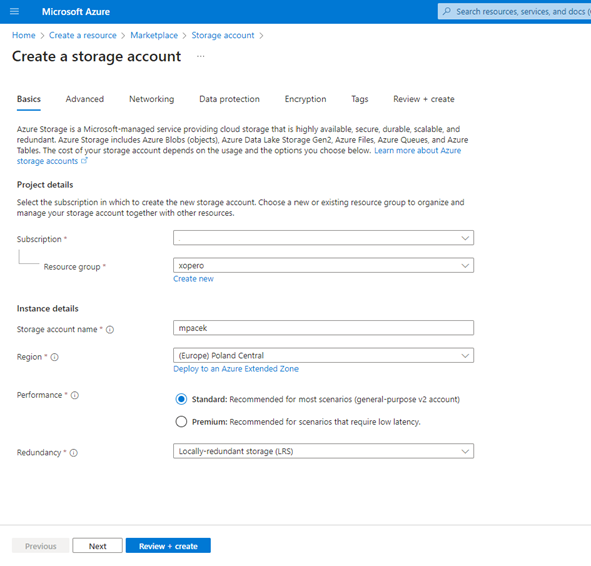
On the configuration page, complete the required fields: choose your subscription, select or create a resource group, and enter a unique name for the storage account that meets the global uniqueness requirement.
Select the region for the storage account, choose the performance tier (Standard or Premium), and specify the redundancy option, such as Locally-redundant storage (LRS) or Geo-redundant storage (GRS), according to your data redundancy needs.
Next, configure the networking options— choose whether the storage account will be accessible via the public internet, a private virtual network, or both.
In the Advanced tab, configure additional options such as data access and encryption. If needed, add tags in the Tags tab to meet management requirements (if you have any).
After configuring all settings, review your selections and click Create to finalize the creation of your storage account.
Creating a blob storage container
Xopero ONE supports only three Azure Blob Storage access tiers: hot, cool, and cold. The archive access tier is not supported. Learn more about access tiers for blob data in the official Microsoft documentation.
After creating the storage account, create a blob storage container— navigate to the storage account and select Containers from the side menu.
Click + Container to add a new container, enter a name, and select the appropriate access level (Private, Blob, or Container).

Click Create to set up the container.
Last updated