SMB share
Login to your Xopero ONE Management Service (XMS) admin panel, open the Storages tab and click the (+) Add storage button.
In Add storage form, define the storage name.
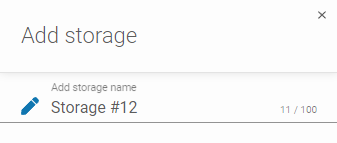
If needed, add an optional description.

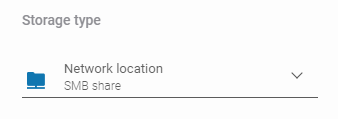
Expand the Storage type list and select Network location (SMB share).
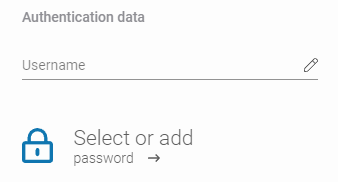
Fill in the Username and select (or add) a password, ensuring they match the domain credentials tied to the network location.
Learn more about using Password Manager here.
Ensure the browsing device can detect the storage. Use the Change button to select a Browsing machine from the devices assigned to Xopero ONE, which will connect the share to the system.
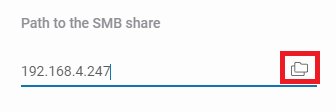
Enter the path or server address containing the share in the Path to the SMB share field.
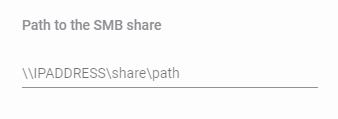
When using the second option (server address) you can browse the server shares— click on the Folders icon to see your available server shares options.
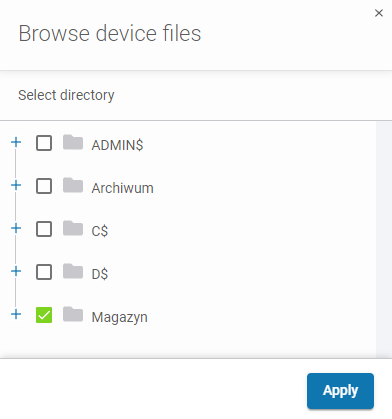
Select the share you want to store your data in and click Apply.
To finish the storage configuration, click Save.
Last updated

