Update on Linux & macOS
This article explains how to update Xopero ONE agents on Linux and macOS.
Regular updates of Xopero ONE agents on macOS and Linux help maintain system stability and protection.
Update process
Installer download
Log into Xopero ONE Management Service using a web browser to download the installer with the newest agent version. Then, go to the Devices tab and click the Add device button.

Select Linux from the list of available environments.

After selecting the version, the download will start automatically. You will also be redirected to the Installation view, which provides short step-by-step instructions for installing the software.
You can transfer this file to the server or copy its link and download it directly on your Linux server using, for example, the wget command.
Installation process
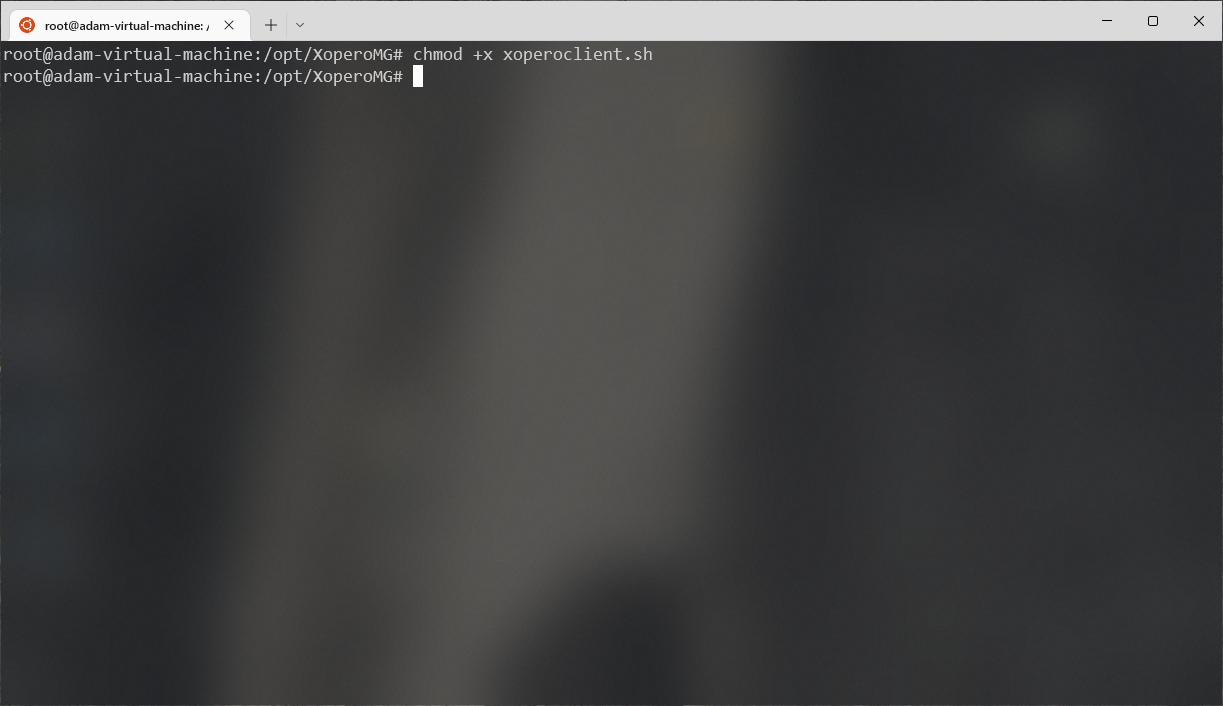
If the installer file is already downloaded, grant execute permission to the file’s owner or group. To do this, use the
chmodcommand:

Run the script using one of the following commands:
The script must be run with administrative privileges, as it may require using the sudo command.
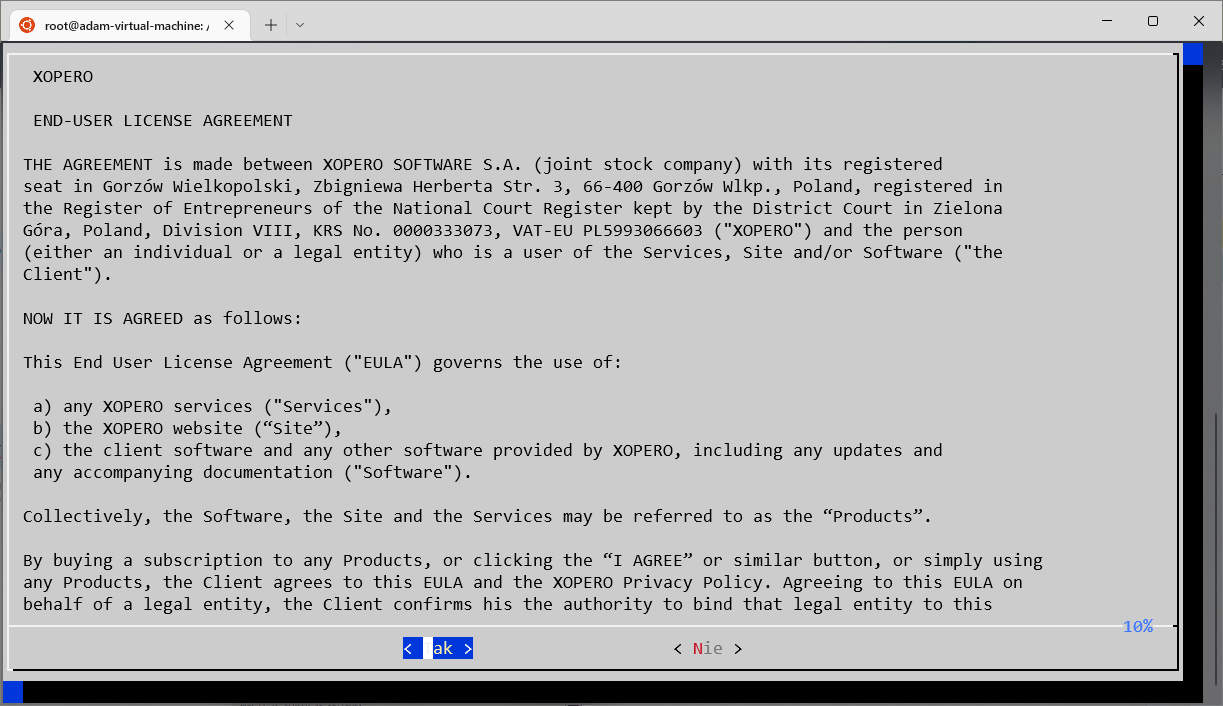
The installer will display the End-User License Agreement, which must be accepted to continue.

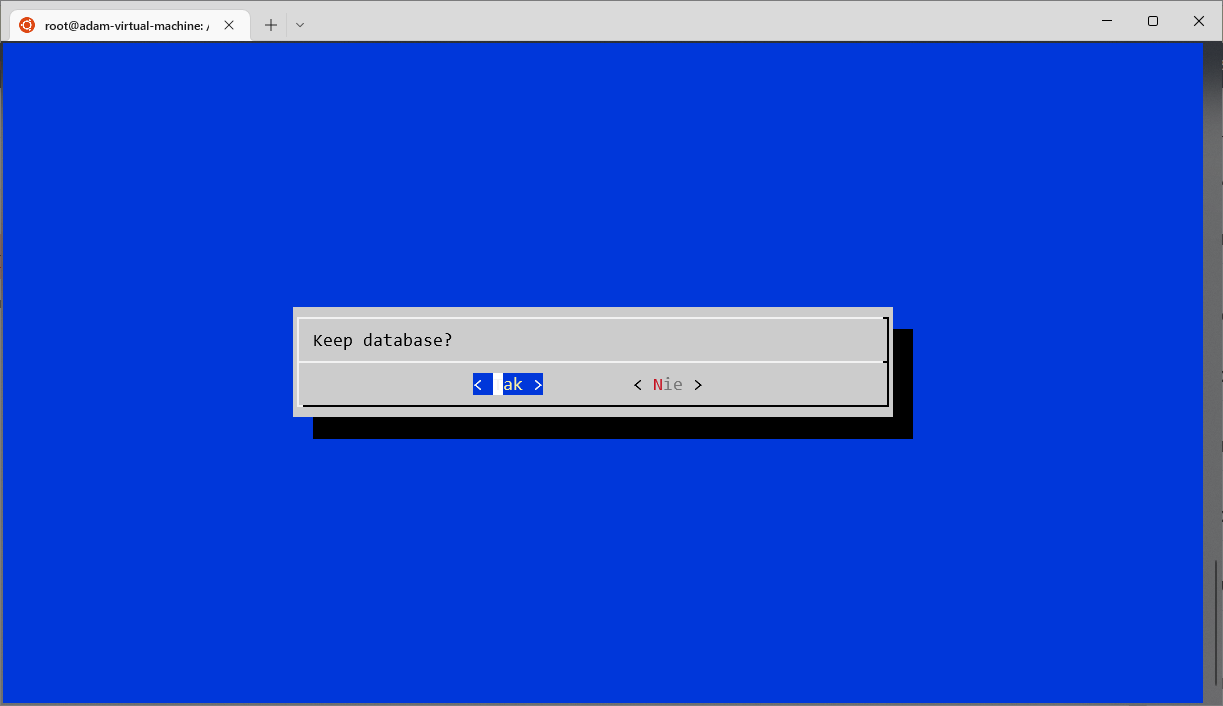
Confirm keeping the existing database.

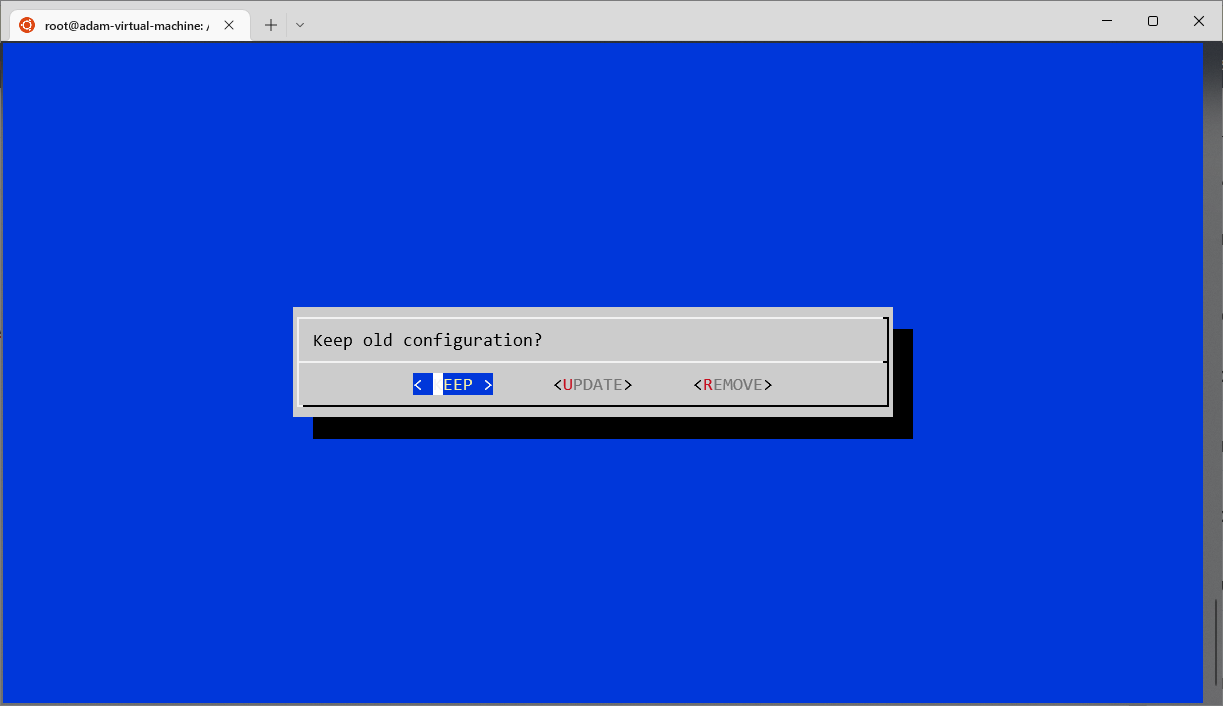
Confirm keeping the old configuration.

The Xopero ONE agent for Linux is now successfully updated.
Installer download
Log into Xopero ONE Management Service using a web browser to download the installer with the newest agent version. Then, go to the Devices tab and click the Add device button.

Select macOS from the list of available environments.

After selecting the version, the download will start automatically. You will also be redirected to the Installation view, which provides short step-by-step instructions for installing the software.
Installation process
Run the downloaded installer.
Click the Continue button in the Introduction section.

Click the Continue button in the Read Me section.

Read the End-User License Agreement and click the Continue.

Click the Agree button to accept the End-User License Agreement.

Change the installation location if needed, or click the Install button to proceed with the default location.

During the update process, the installer will prompt you for the IP address of your Management Service (refer to step 3 in Installer download section above). Define it in this step.

Confirm the configuration by clicking the OK button.

Click Close to finish the installation. The Xopero ONE agent for macOS is now successfully updated.

Last updated

