Agent configuration
Activation (license assignment)
Login to your Xopero ONE Management Service (XMS) console.
Click the Activate agent icon in the top menu.
A sidebar will appear, showing a list of available agents — you can view basic details like device type, name, IP address, and operating system.

Select the device you want to activate (you can select multiple devices if you assign them the same license type) and press the Activate button to proceed.
Next, select the license type you want to assign to the chosen device(s) and click Assign license to confirm your selection.
Once the license is correctly assigned, your device(s) will be visible in the Devices tab.
In the Xopero ONE system, the local worker, cloud worker, and feature worker licenses are free. These licenses allow specific operations, except for backing up the device itself — thus, devices with these licenses appear under Settings > Advanced > Workers tab.
Configuration
To modify the config.json file, you must stop the Xopero ONE Backup&Recovery Agent service. After making your changes, restart the service (you might also need to refresh the changes in the Management Service panel).
The config.json file, by default, is located in the following locations:
For Windows:
C:\Program Files\Xopero ONE Backup&Recovery AgentFor Linux:
/opt/XoperoONEBackupAgent/
💡You can edit config.json with a simple text editor (i.e., Notepad++).
Management Service address
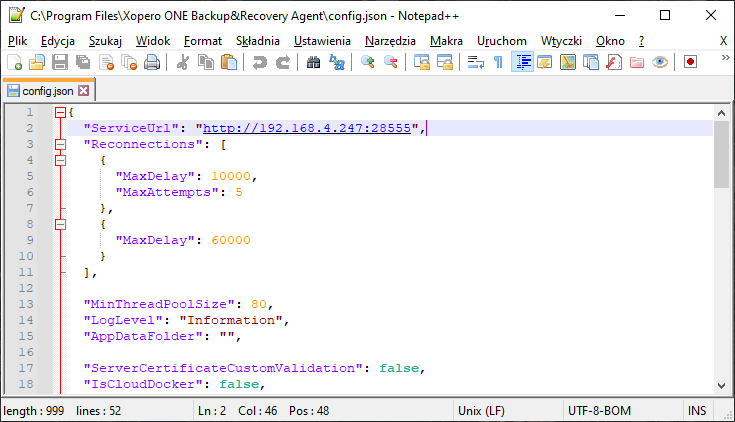
The Xopero ONE Management Service (XMS) address to which your agent connects is crucial during both installation and configuration. If the IP address or protocol (http/https) of the Management Service changes, the agent's status will switch to offline. To re-establish the connection, update the ServiceUrl value in the configuration file with the updated address.
Log level
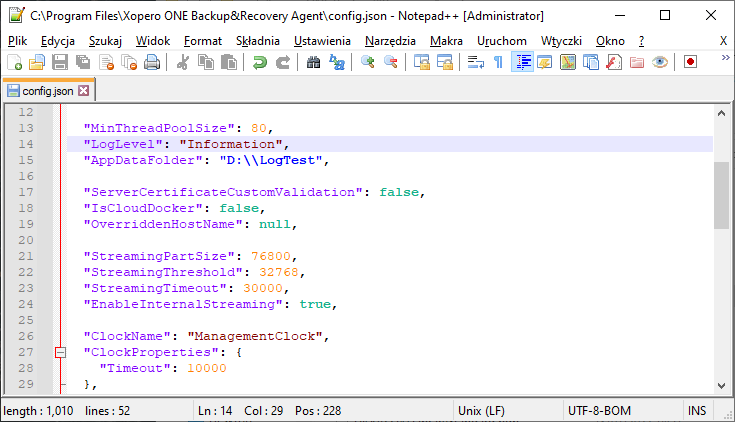
By default, the LogLevel value is set to Information. You can change it to:
TraceDebugInformationWarningErrorCriticalNone
Default log path
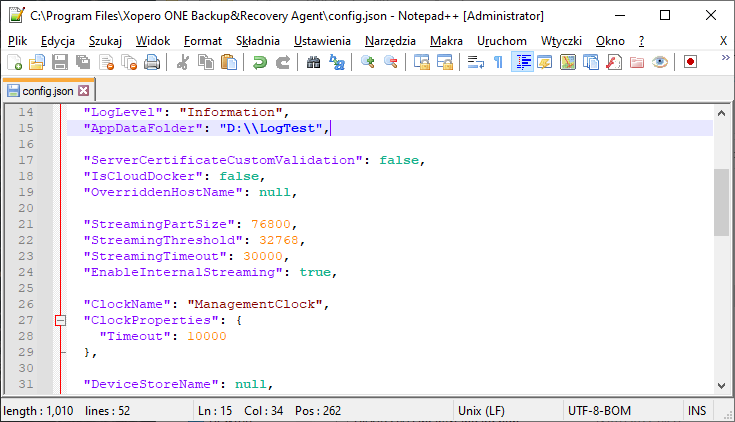
By default, application logs are stored in the following directory: C:\ProgramData\Xopero ONE\Xopero ONE Backup&Recovery Agent\Logs. To change the location, modify the AppDataFolder parameter.
Please note that the correct AppDataFolder value format includes double slash after the drive letter (i.e., D:\\).
Device name
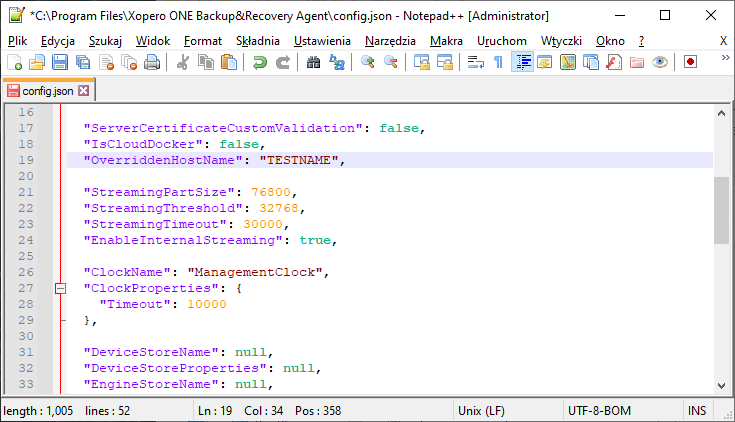
The device name defaults to the system's name. To customize it, modify the OverriddenHostName parameter.
Please note that the custom name must be in entered with quotation marks (i.e., "TESTNAME").
Number of retries
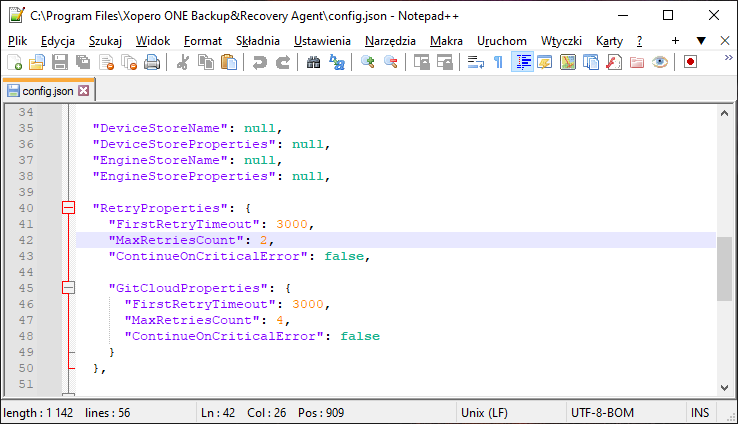
If database backup task ends with error DV0249 - "Unable to read backup data", first address any connection stability issues on your end. If the problem persists, you can increase the retry attempts in the Xopero ONE application— to do this, simply edit the MaxRetriesCount parameter, changing its default value from 2 to a higher value, i.e., 20.
Virtual appliance
The VMware virtual appliance is a Linux-based machine with an agent service. You can modify its settings by editing the config.json file.
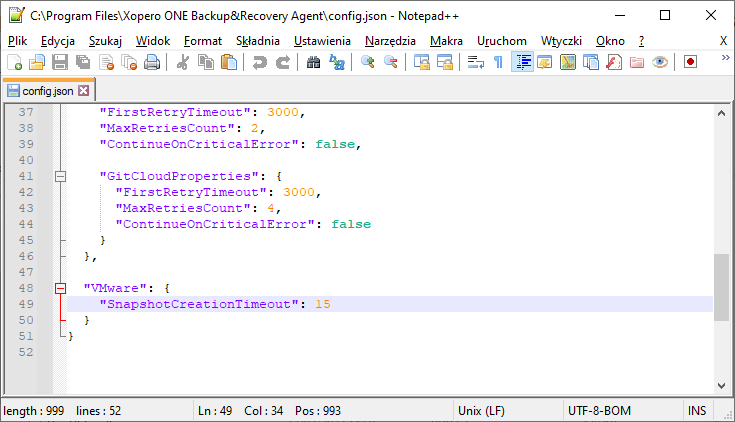
To configure the timeout for snapshot creation, locate the VMware section at the bottom of the file and adjust the SnapshotCreationTimeout parameter to your needs.
Last updated

